How To Mount A Trolling Motor On A Kayak? (In 6 Steps)
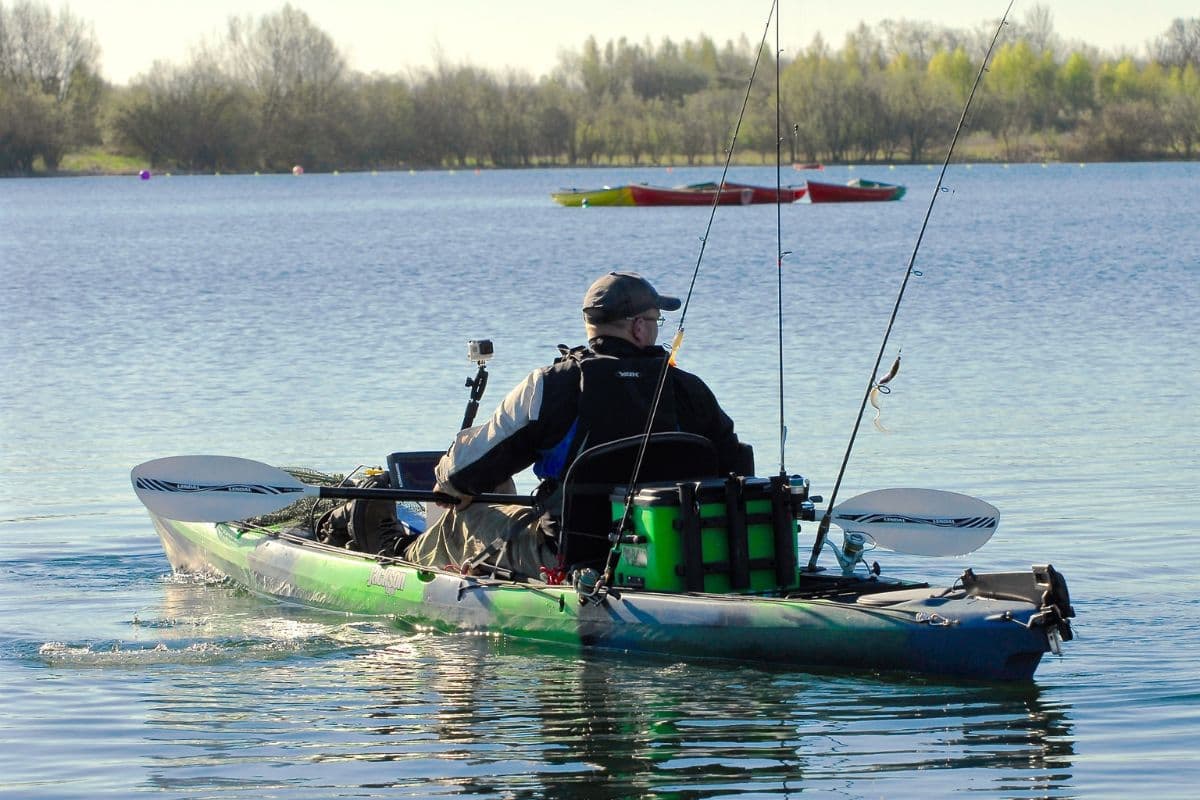
Whether you want to free your hands for kayak fishing, achieve faster speeds, or even avoid disturbing fish while paddling, installing a trolling motor on your kayak is a great way to tackle all those issues.
There are many types of trolling motors available, and most kayaks only accommodate battery-powered motors. You can also find trolling motors that run on fuel (diesel or gasoline) and even motors that operate via remote control.
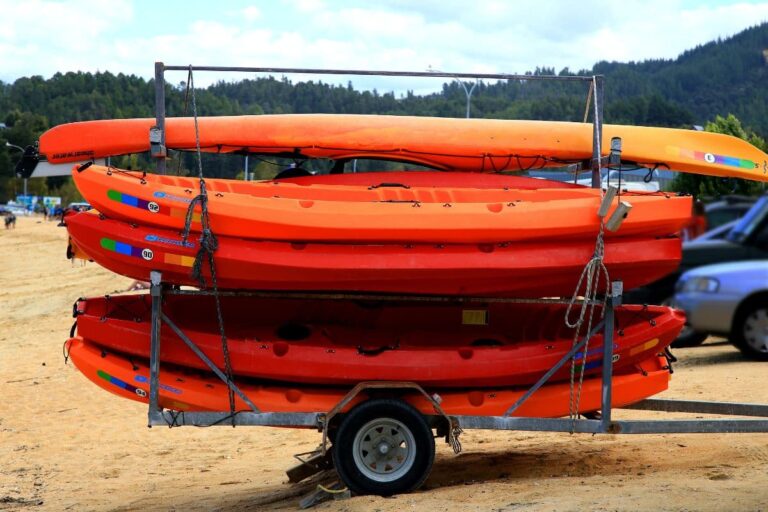
When installing a motor on your fishing kayak, you’ll need to factor in the type of boat you have, your desired location for your motor, and be sure to have the necessary tools and materials on hand. Also check whether your state requires registration with the DMV for motor-powered kayaks.
It’s rare to find an electric motor or electric outboard motor mounted on a kayak.
Freeing up your fishing hands means you’ll typically have to use some sort of foot control most of the time.
As long as you’re able to follow step-by-step instructions, mounting a motor on your kayak is a relatively easy process.
6 Steps to Mount A Trolling Motor On Your Kayak
Before you begin the process of putting a motor on your kayak, there are a few accessories you’ll need:
- Bolts and nuts
- A drill
- A compatible propeller
- A flat mount
Once you’ve gathered your tools, follow these steps:
1. Decide Where You Plan To Mount Your Trolling Motor

There are three safe locations for you to place your kayak trolling motor:
- The stern (the rear end)
- The bow (the front end)
- The gunwales (the upper edge)
None of these locations is necessarily better than the other, but if you want to control your trolling motor without much hassle, mounting it on your gunwales is probably your best option, since it’s closest to where you sit.
That said, this also means that one side of your kayak will have more power than the other side, though most anglers are able to adjust to this with time.
Keep in mind that when the motor is mounted on the stern or bow, your kayak will move in a straighter direction.
You may also have some trouble operating the motor from these spots, since it’s likely that it will be a bit too far from your reach.
2. Choose The Right Motor Mount For Your Kayak
There are several motor mounts available for kayaks in today’s market.
Some mounts require rod holders, and some don’t.
Most mounts are specifically designed for certain parts of a kayak (i.e., a motor mount for the stern, the bow, or the gunwales.)
When buying a trolling motor mount, make sure you choose the right type for its intended boat location.
For example, don’t buy a mount designed for the stern if you plan to put your trolling motor on the bow.
The second thing you need to ensure is that the motor you choose is compatible with your kayak.
If you don’t know how to tell if a motor is compatible with your boat, ask the seller at the store to help you out.
3. Install Your Propeller Onto Your Trolling Motor
In addition to ensuring that your mounting bracket is compatible with your motor, your propeller should be too.
It’s likely that your trolling motor didn’t come with a propeller of its own.
This is because propellers are more sensitive to shipping damages than trolling motors.
Everything you need to install your propeller should be in the kit when you buy it, and the installation process depends on your specific type of propeller.
In general, the installation should be a simple process that involves tightening the prop nut with the propeller, and then attaching it onto the motor.
4. Mount Your Trolling Motor
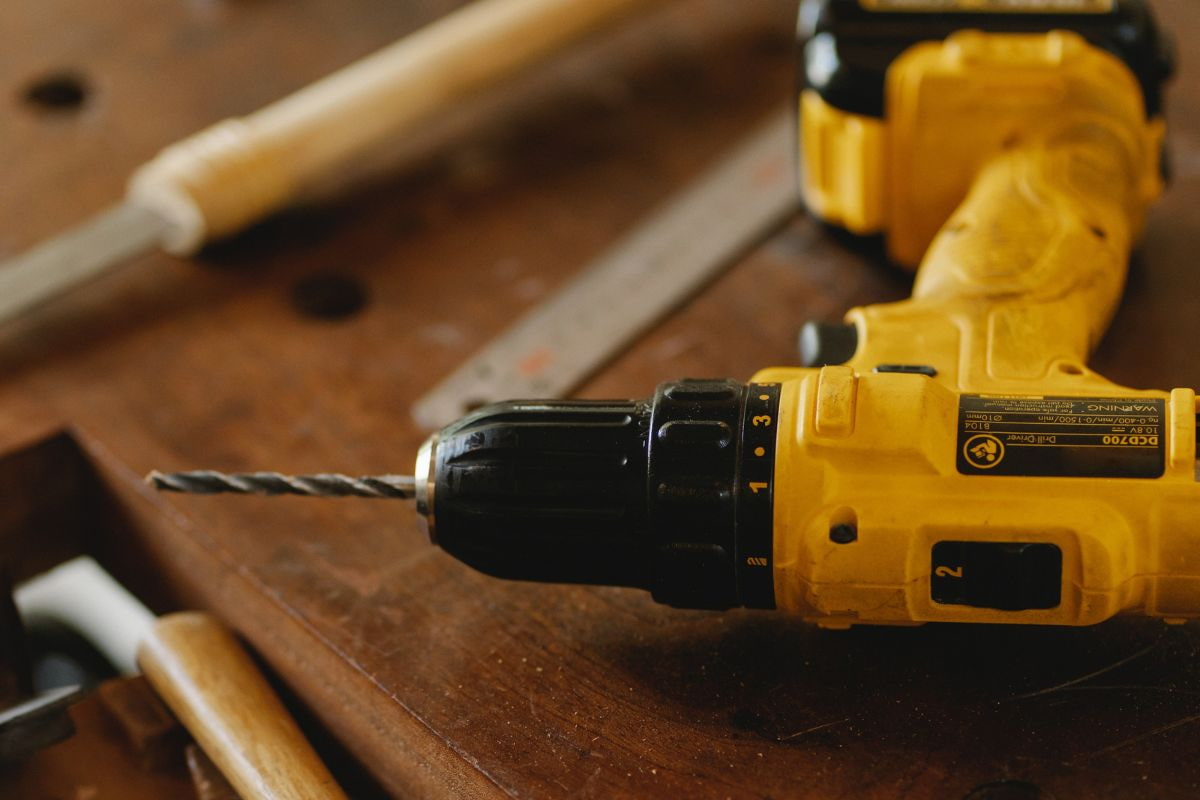
Depending on where you prefer to mount a trolling motor on your kayak, you’ll need to drill some holes into the surface.
If your mount is designed for the gunwales, you won’t need to drill into the hull since this mount is likely to come with clamps you can use to fit it onto the edge of your fishing kayak.
If you plan to put your mount on the stern or bow, however, you will need to drill some holes and, using bolts and nuts, secure your trolling motor in place.
Once again, your mounting kit is likely to provide you with detailed information on how to do this properly.
Remember that your holes need to be watertight.
To do this, you’ll need to apply some sort of liquid sealant.
You’ll also notice that you need to secure your trolling motor onto some kind of pin on the mount.
This pin allows you to raise the motor when your boat is in certain parts of the water.
Make sure that it’s secure enough before testing out your new trolling motor.
5. Build Your Steering Linkages
As mentioned, installing trolling motors onto the stern or bow will result in a very restricted ability to control your boat, as those locations are too far from where you are seated – this is less than ideal when you’re out fishing.
To make it possible for you to operate your boat, you’ll need to perform an extra step by building steering linkages onto the location where you’ve placed your trolling motor.
This setup allows you to operate your boat using your feet so your hands can be freed up.
One thing to note here is that you can only build this setup if your fishing kayak already has foot pedals available to accommodate it.
For sit-inside kayaks that don’t have foot pedals, stick to installing your trolling motor on the gunwales.
Even though your hands won’t be as free, remember that using a motor still requires significantly less energy as paddling.
For kayaks that already have a skeg or rudder, simply replace this with your trolling motor.
Locate the steering linkages on your stern and remove the fittings designed to hold your skeg in place – when done, safely take it out.
Next, you’ll need to attach a couple of metal eye bolts to the shaft at the height of your linkages.
Make sure that the steering linkages are not too tight to the point of restricting movement – on the same note, you also need to make sure they’re not too loose either.
It’s also important to test out your kayak on land to see whether this works before trying any hands-free fishing out on water.
6. Connect The Kayak Motor To A Marine Battery
Unless you have a remote-controlled motor, your motor won’t function without wiring it to the deep-cycle marine battery.
To do this, open the cap of your kayak trolling motor and locate the two wires you’ll need to connect to the battery.
Black is almost always the negative wire and red normally indicates a positive terminal (always check your instructions just in case).
Take your wires and attach them to the battery.
When done, confirm that everything is in place and take your motorized kayak out for a test drive on the shore.
Remember to always bring a paddle, just in case anything happens to your motor or watercraft.
What To Consider Before Buying A Trolling Motor
There are three things you need to prioritize before mounting a trolling motor on a kayak:
1. Battery Power
Make sure you’re aware of the required voltage (V) and storage capacity (mAh) of your kayak motor battery.
The former tells you how much power your motor will generate, while the latter tells you how long your trolling motor will last.
A good kayak motor battery should not just generate enough speed and energy, but also exceed expectations in lasting power.
While it’s always advisable to check with the seller at the store, it’s even more advisable to do your research beforehand.
You might come home with an expensive trolling motor and find out you could’ve gotten a cheaper one with the same (or better) features.
2. Size
This refers to not only the size of your motor, but also the weight of your fishing kayak.
Make sure you don’t get a kayak motor that takes up needless space on your boat otherwise you could cause an imbalance when fishing on a battery-powered boat.
You also need to keep an eye on the shaft of the trolling motor.
When fishing in shallow waters, long shafts on boats can cause more harm than good.
In the case of kayaks, they should weigh enough to accommodate you, your gear, and your trolling motor.
If you’re only 20 pounds shy of equaling the weight of your kayak and you just got a 40-pound motor, it’s a good idea to buy another motor or start looking at larger kayaks.
3. Thrust
Thrust is the power needed to move a kayak in a certain direction, and is measured in pounds.
Getting a kayak motor with a good thrust rating ensures that the speed and power generated by the motor can accommodate the total weight.
Two pounds of thrust moves 100 pounds of weight.
This is an easy way to check if the thrust advertised on your trolling motor fits the combined weight of your gear, the motor, the kayak, and yourself.
Since you can’t be a hundred percent sure about weight, it’s always safe to add some extra pounds on the final number as a precaution.
Do I Need A DMV Registration For My Kayak?

Since your kayak with a motor is no longer solely human-powered, you may or may not need to register your kayak with your state.
The best thing to do is review the state regulations for anglers like you before heading out in a motor-powered kayak.
If you do need to register your kayak and don’t, you might get hit with some hefty fines.
Conclusion
Mounting a motor to your kayak is a relatively simple process for experienced anglers.
If you’ve just gotten a new kayak and are not familiar with the fundamentals, there is plenty of helpful information available to help you with the process (including instruction manuals and tutorials like this one.)
Take time, and set aside a weekend to work on your kayak at a safe speed.
When you’re done, you can say goodbye to sore paddling arms and hello to more productive kayak fishing trips so you can enjoy fishing in peace.
Table of Contents